Compare Files
You can use the Compare Files tool to quickly see the differences between two artwork files or other files in a project, such as labeling requirements. You can use this tool to compare files from different levels (master, sub, and reference project levels) of the same project. This is useful if you have separate approval sub projects but you want to compare files between these project levels (for example, if you want to compare artwork and the corresponding printer proof, or design artwork and production artwork, or a label template and label artwork).
In addition, if you already license the InformaIT Text Compare tool, you can now access the Text Compare and Graphic Compare functionality in that tool from within Smartflow.
Use any of the following procedures to compare files.
Compare Files in a Task
You can compare files in a review, approval, or upload task.
- In Workspace
 , click the Tasks tab, and then click the task name.
 - On the task page, click Compare Files.
- In the Compare Files dialog box, stay on the Graphics Compare tab (selected by default) to compare artwork, or click the Text Compare tab to compare text only.
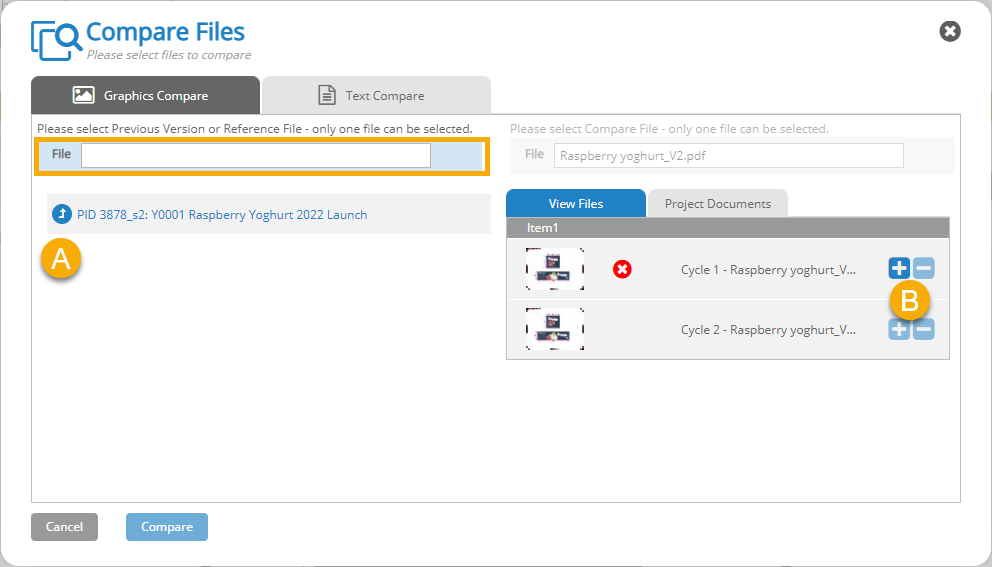
- The Compare File for the task is automatically selected (in the File field on the right). To select a Reference File, do the following:
- Navigate to the appropriate project level. The files for each project level are displayed in the View Files tab on the right.
- Click
 next to the file you want to use as your Reference File. The file name is added to the Reference File field on the left.
- Click Compare. The Compare Files window is displayed.
- Use the provided tools to view, compare, and annotate the files. For more information, see User Interface: Compare Files Tool.
Compare Files in a Project
You can compare two files within a project.
-
In Workspace , open the project containing the files you want to compare.
- Click the View Files tab or the Project Documents tab.
- Click Compare Files.
- In the Compare Files dialog box, stay on the Graphics Compare tab (selected by default) to compare artwork, or click the Text Compare tab to compare text only.
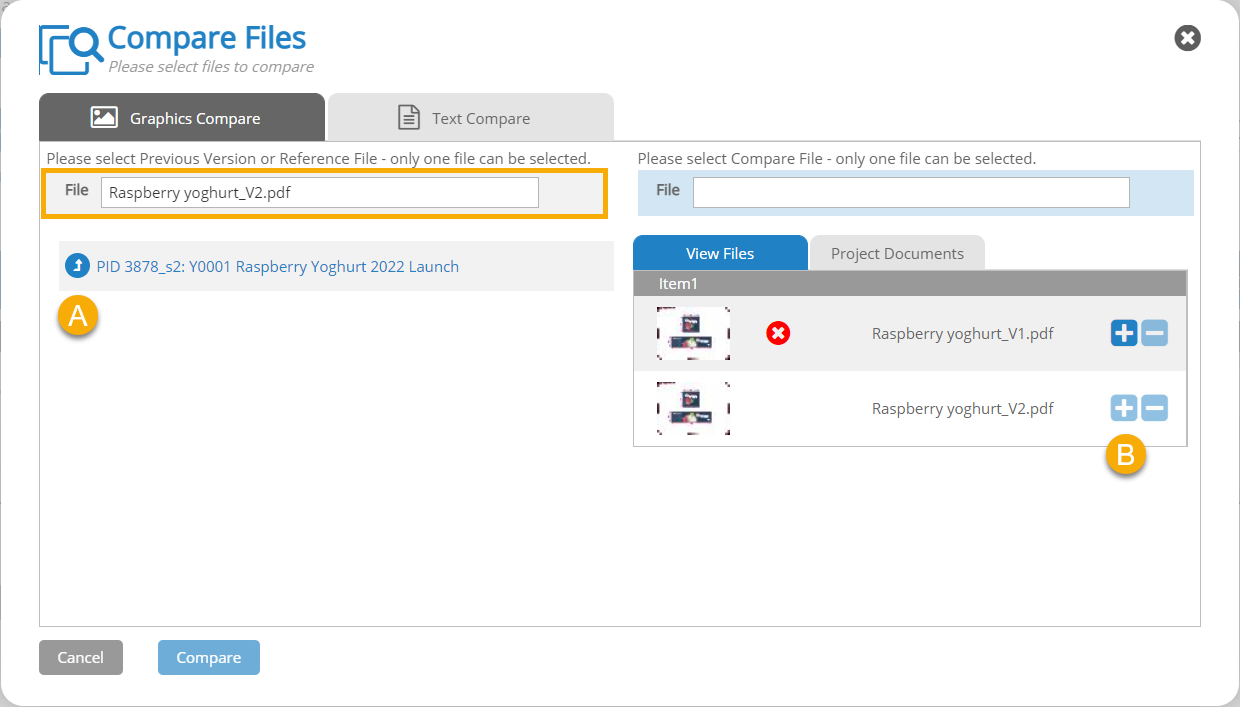
- Select a Reference File for the File field on the left by doing the following:
- Navigate to the appropriate project level. The files for each project level are displayed in the View Files tab on the right.
- Click next to the file you want to use as your Reference File. The file name is added to the File field on the left.
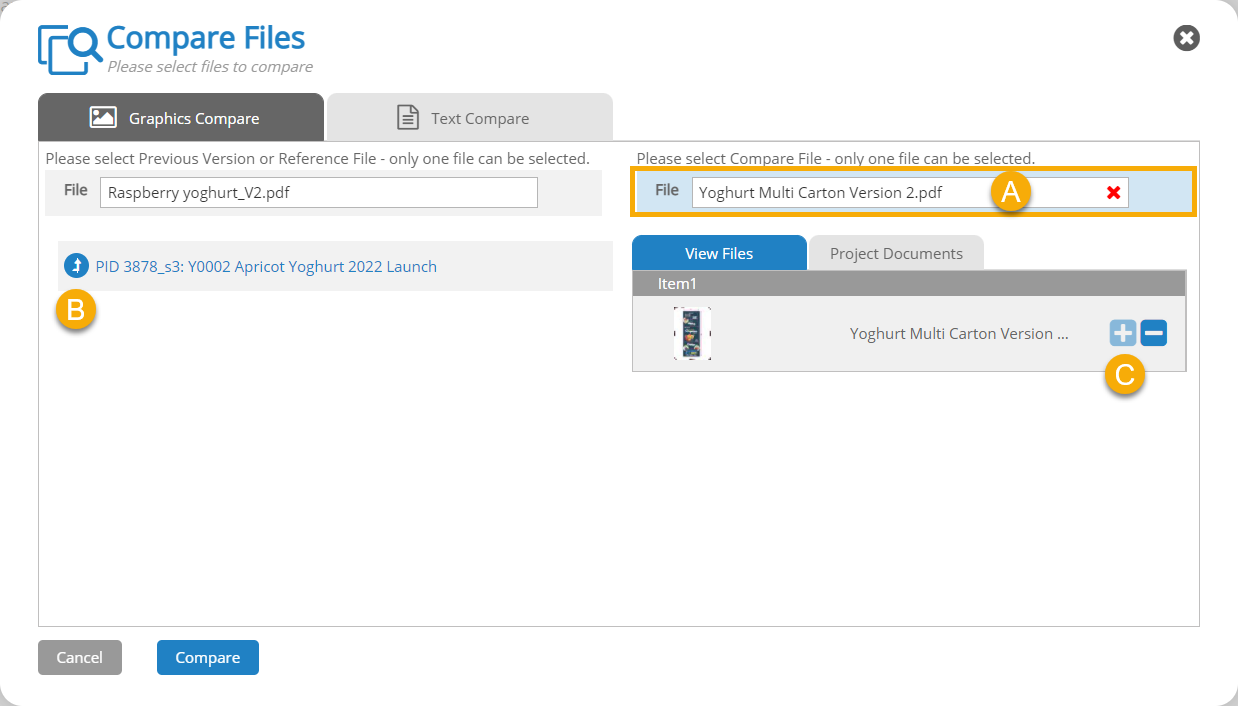
- In the Compare Files dialog box, select a Compare File by doing the following:
- Click inside the File field on the right to select the field.
- Navigate to the appropriate project level. The files for each project level are displayed in the View Files tab on the right.
- Click next to the file you want to use as your Compare File. The file name is added to the File field on the right.
- Click Compare. The Compare Files window is displayed.
- Use the provided tools to view, compare, and annotate the files. For more information, see User Interface: Compare Files Tool.
Compare Files in My Files
You can use Favourites ![]() to compare files between two separate projects.
to compare files between two separate projects.
-
In Favourites
 , click the My Files tab.
-
Select the check boxes of the two files you want to compare.
Tip: You can add files to your My Files tab by clicking
 Add to My Files in the Digital Asset Library (DAL)
  or in the View Files tab of a project detail page.
 - Click Compare. The Compare Files window is displayed.
- Use the provided tools to view, compare, and annotate the files. For more information, see User Interface: Compare Files Tool.